Cockatil Cabinet: Page 2
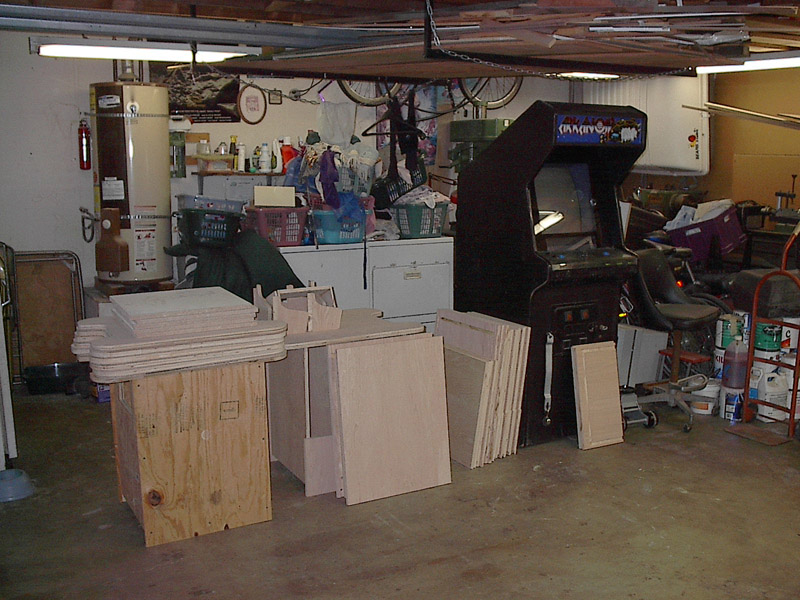
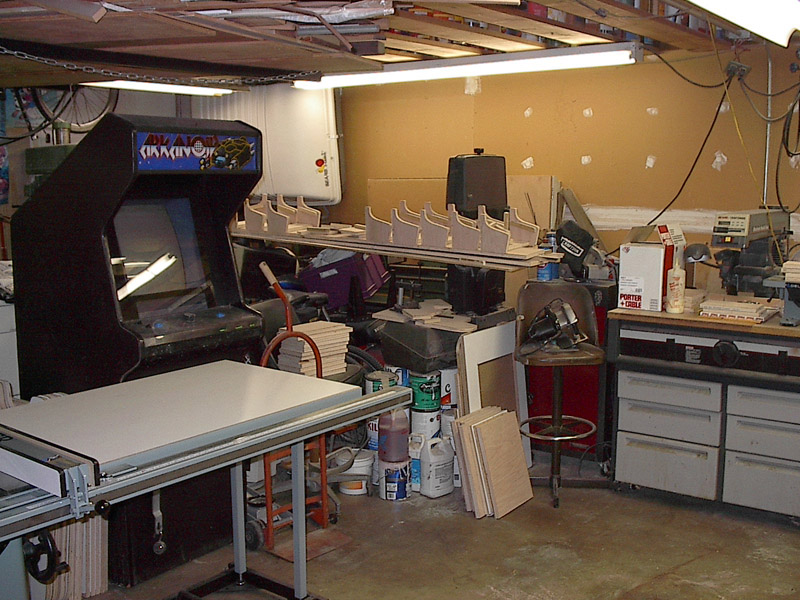
Here are some more pictures of the cocktail tables we are building:
|
|
|
|
|
|
|
|
|
|
|
|
|
|
|
|
|
|
|
|
|
|
|
|
|
|
|
|
|
|
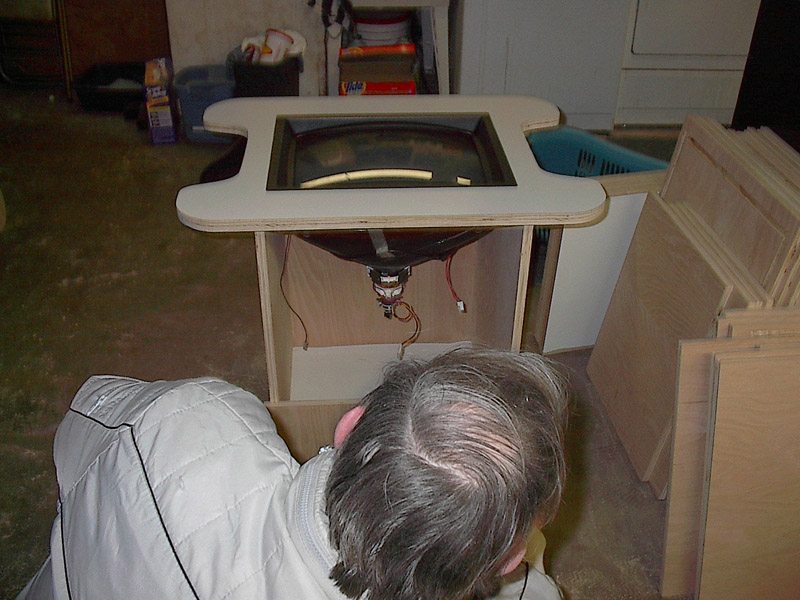
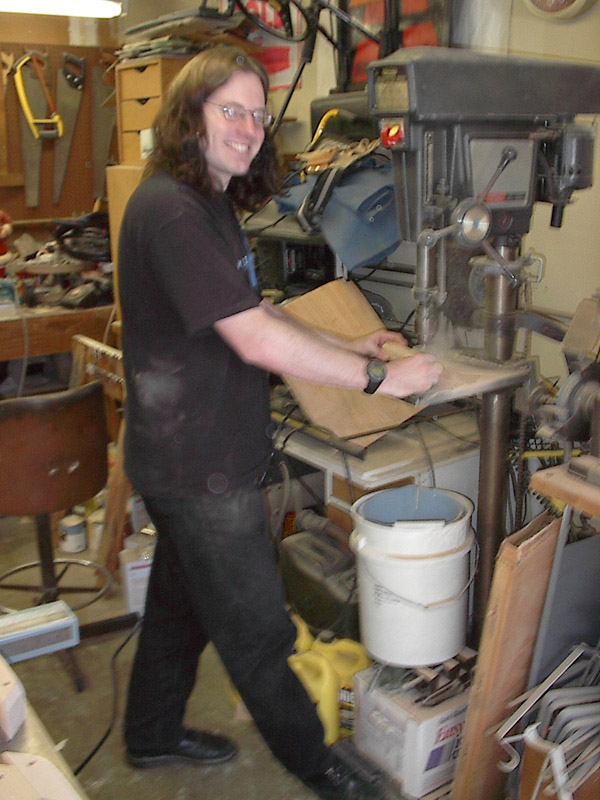
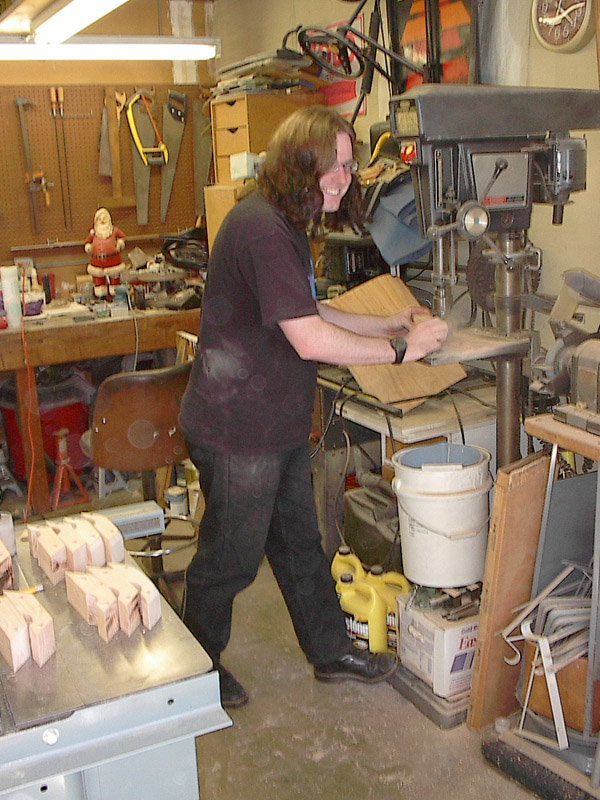
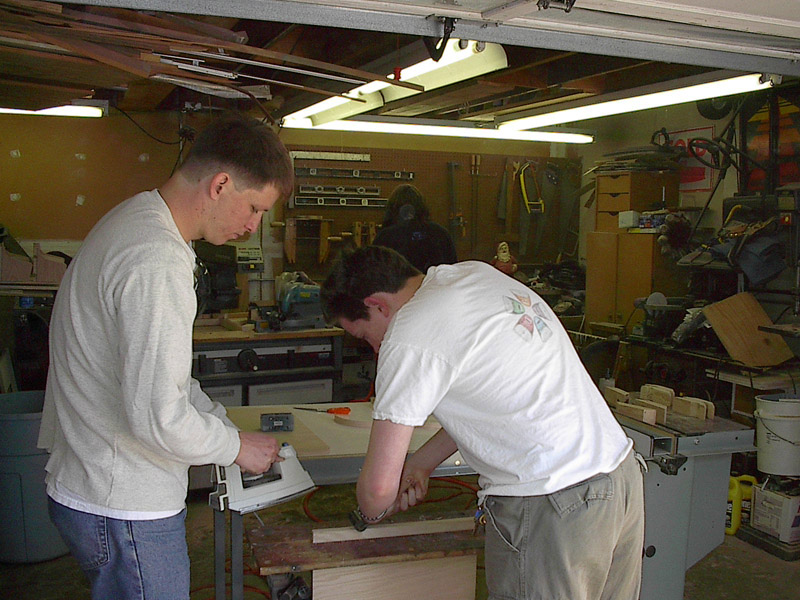
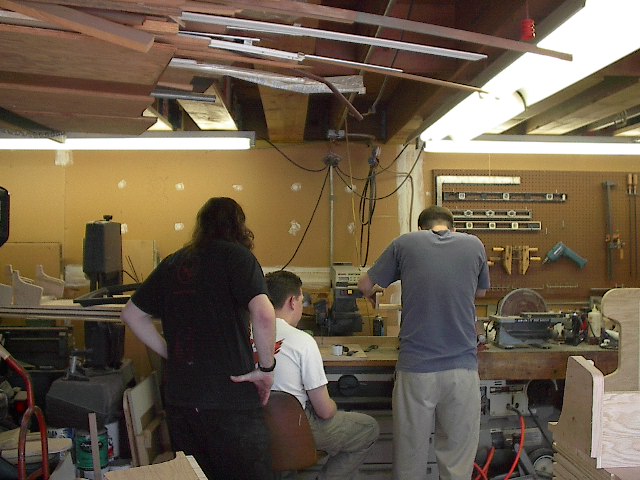
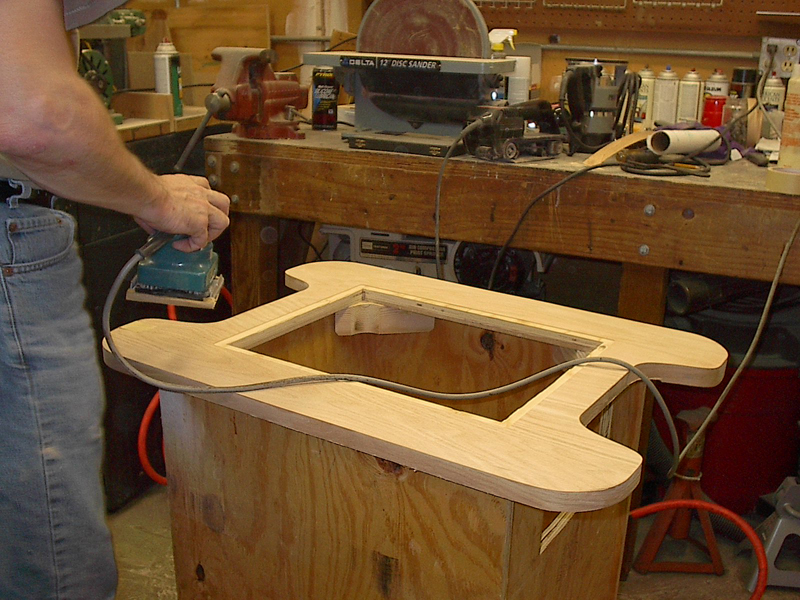
David and Mike watching Jim sand. |
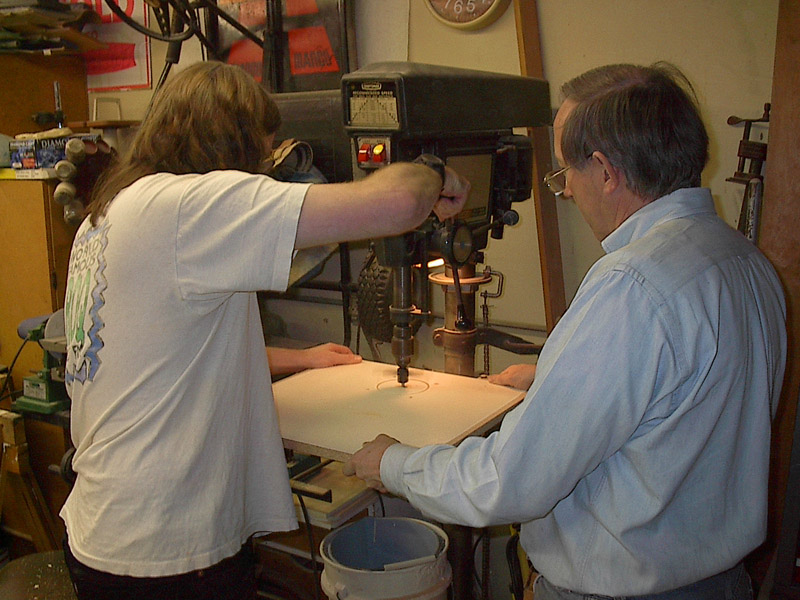
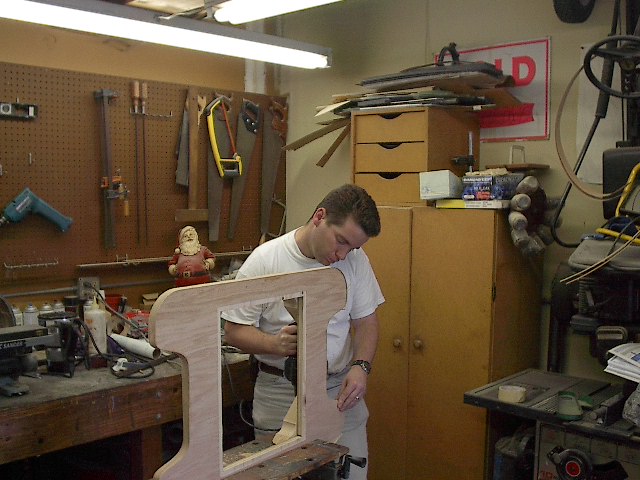
Patrick working on edgetape around the top of the cabinet. |
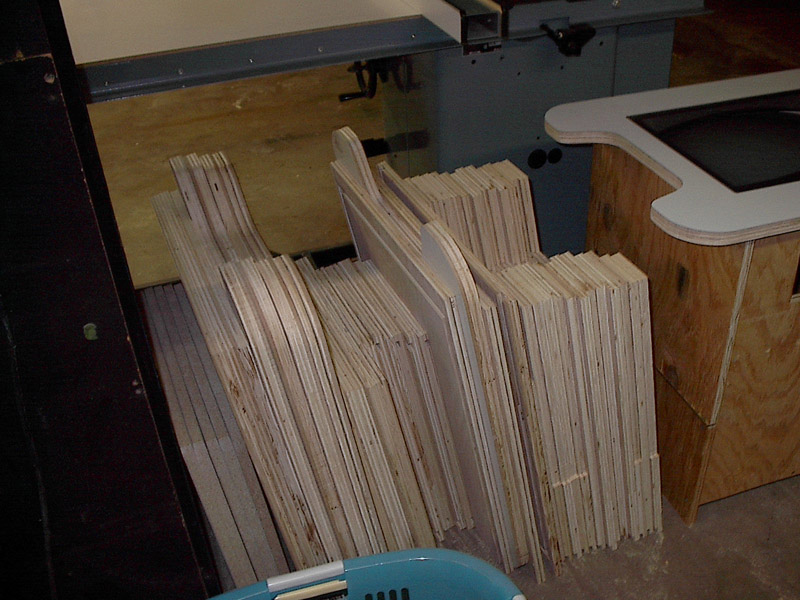
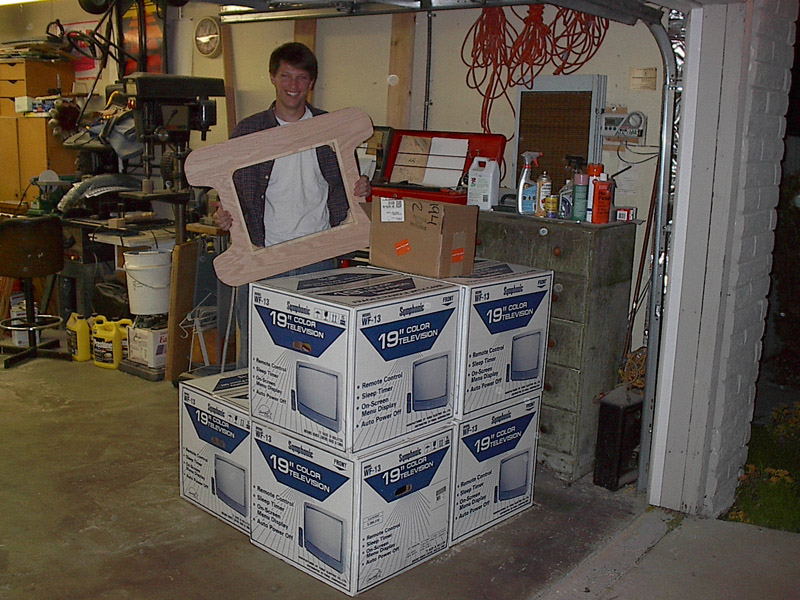
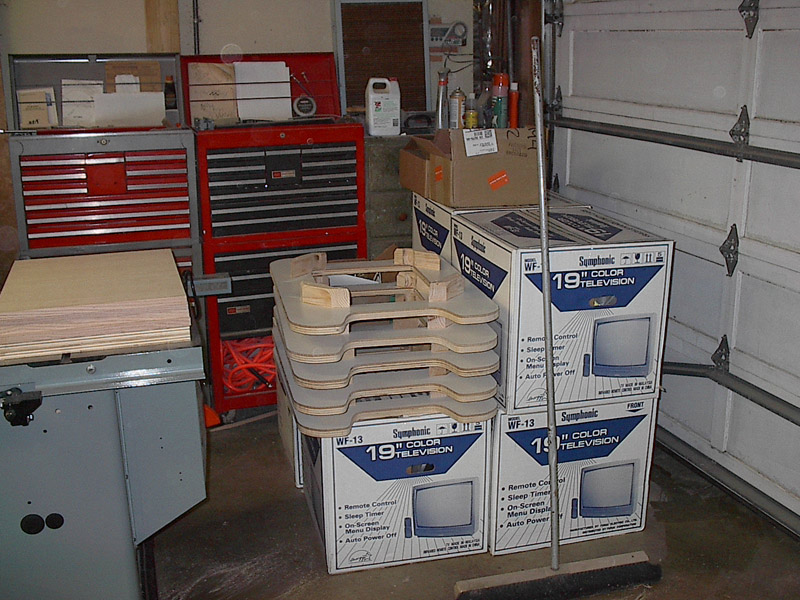
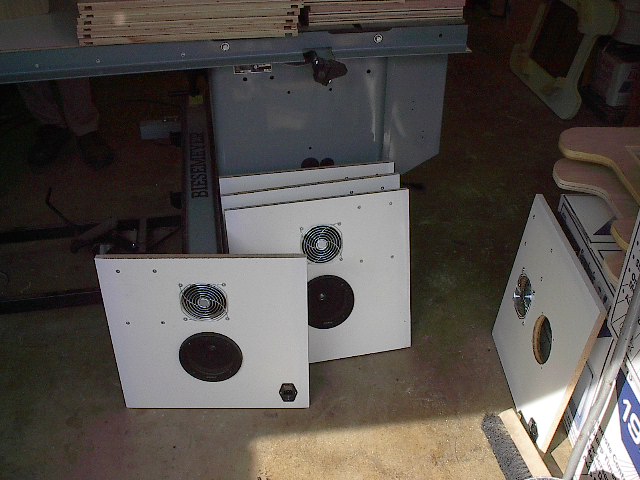
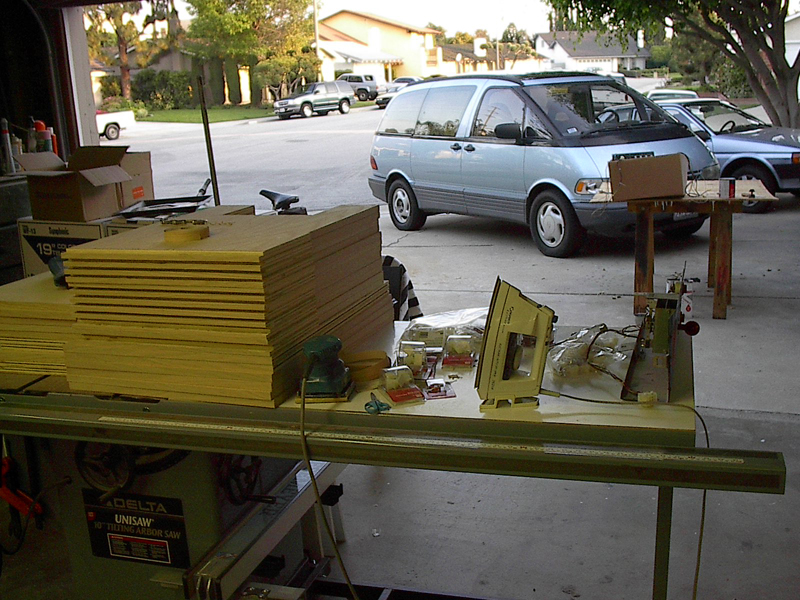
All the finished bases |
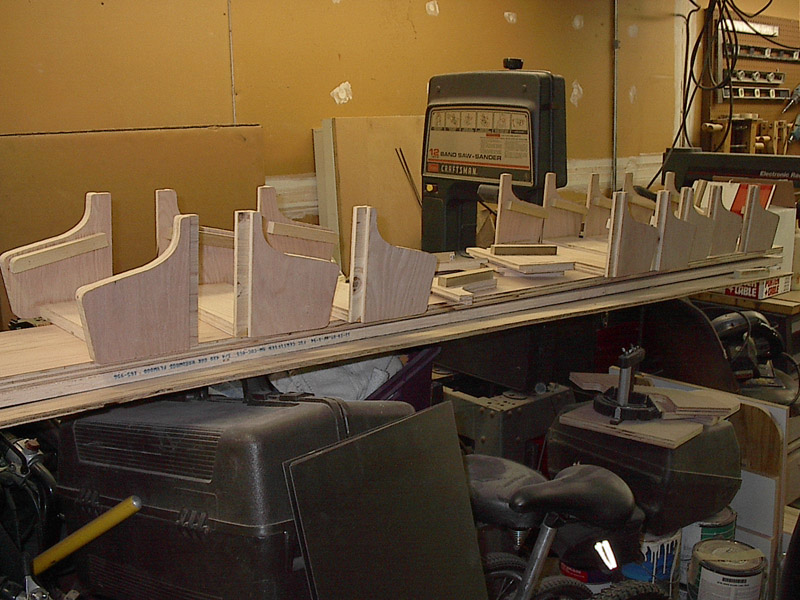
More sanding around the top. |
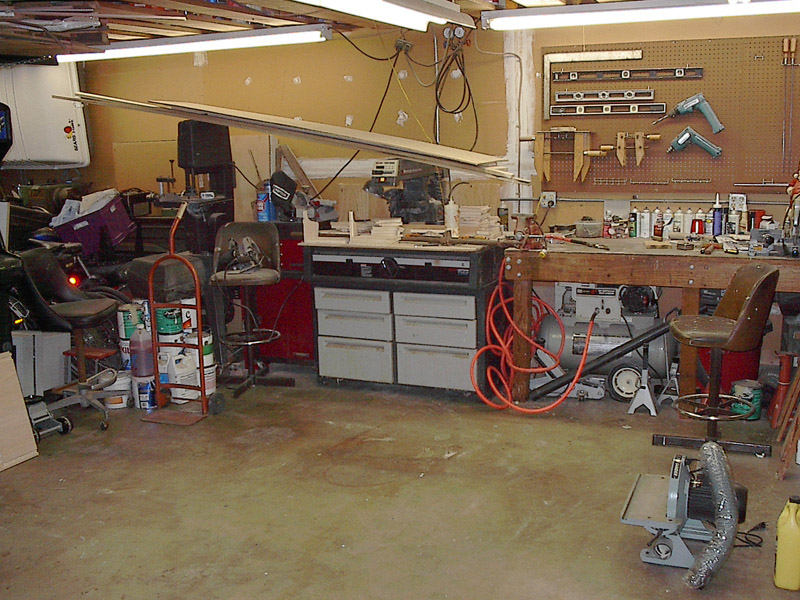
The work space for the edge tape on the control panels. |
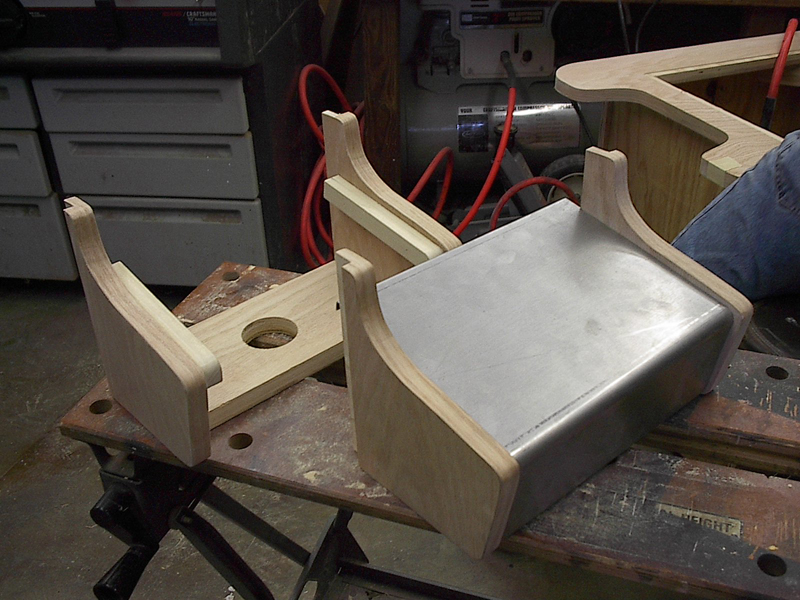
A control panel with the first bent sheet metal, and a control panel that just got edge tape put on. |
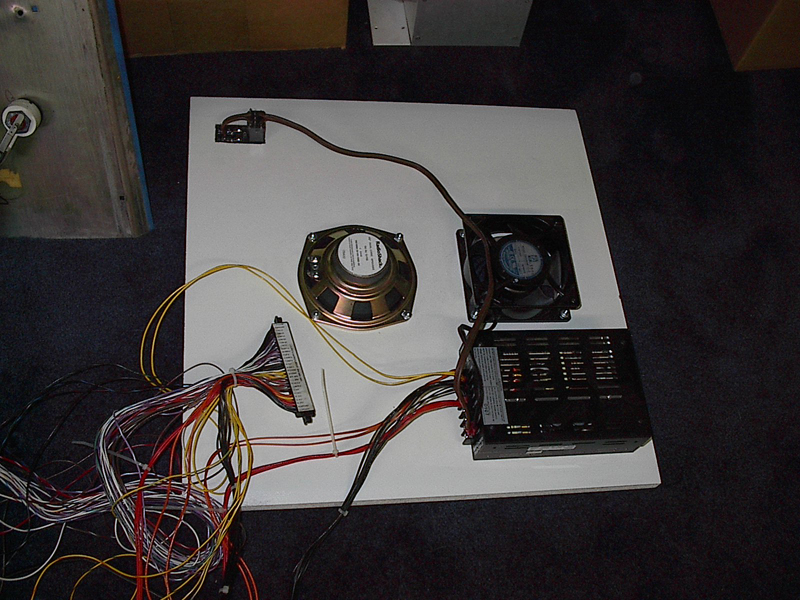
The first base is partially wired for jamma! |
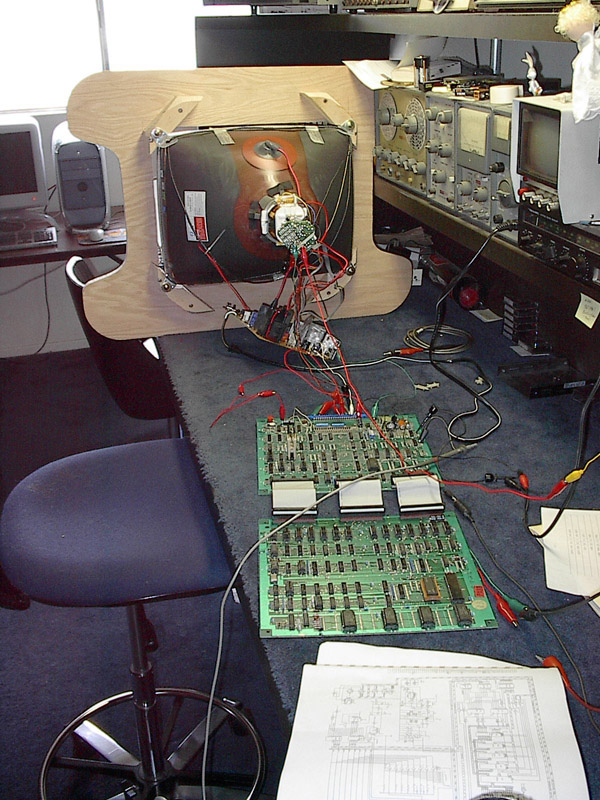
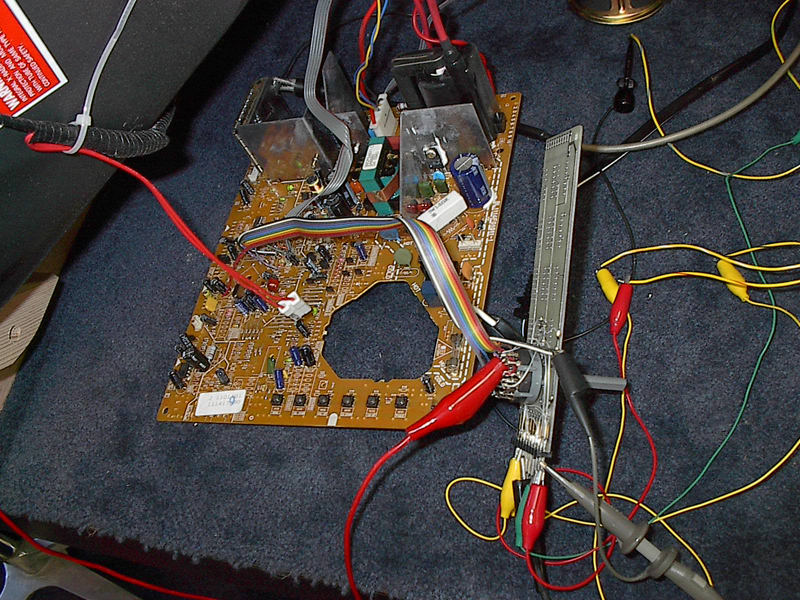
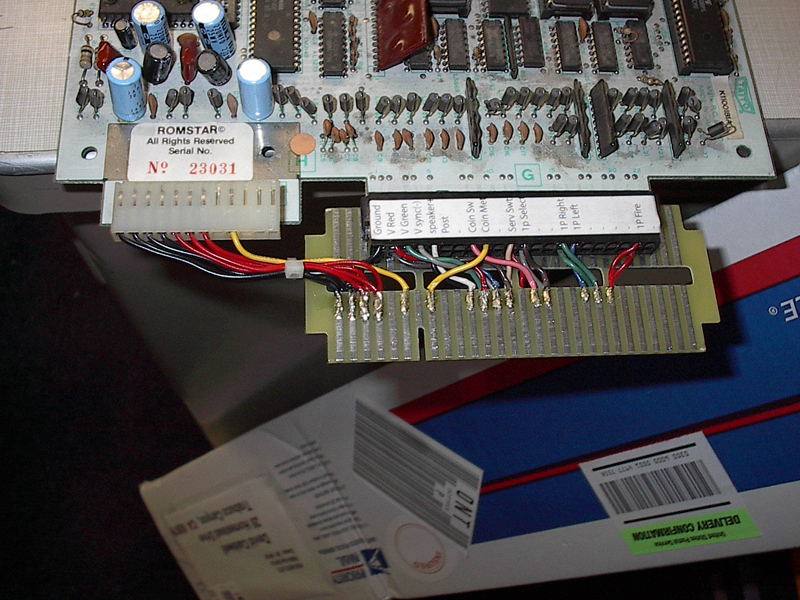
This is the board my Dad made for switching between RGB, composite sync, and regular TV |
This is our newly wired jamma harness on a finished base |
Another veiw of our switcher board hooked up to the tv board. And thus concludes day 5! |
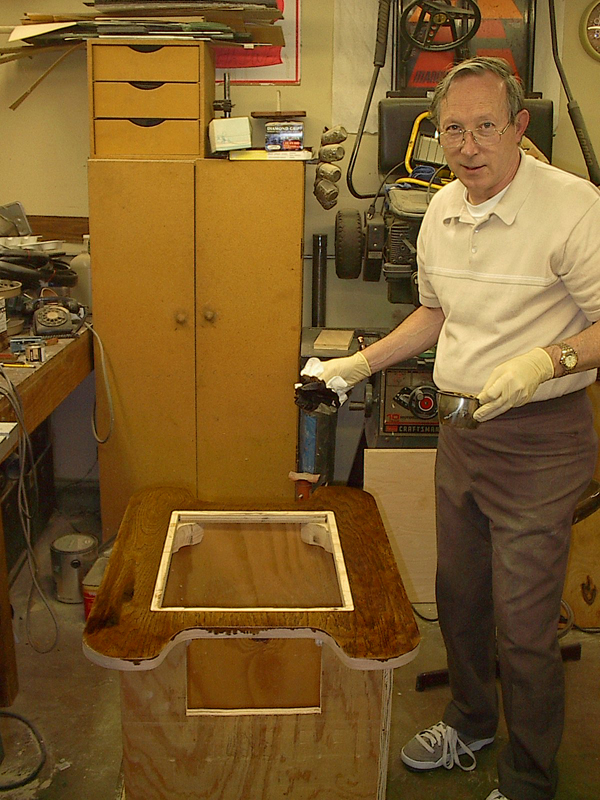
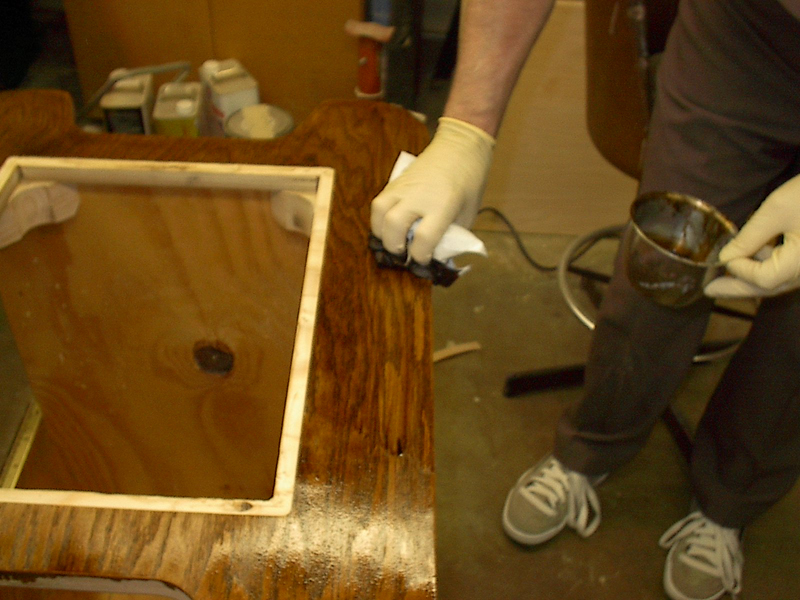
This is dad putting the stain on. |
More stain... |
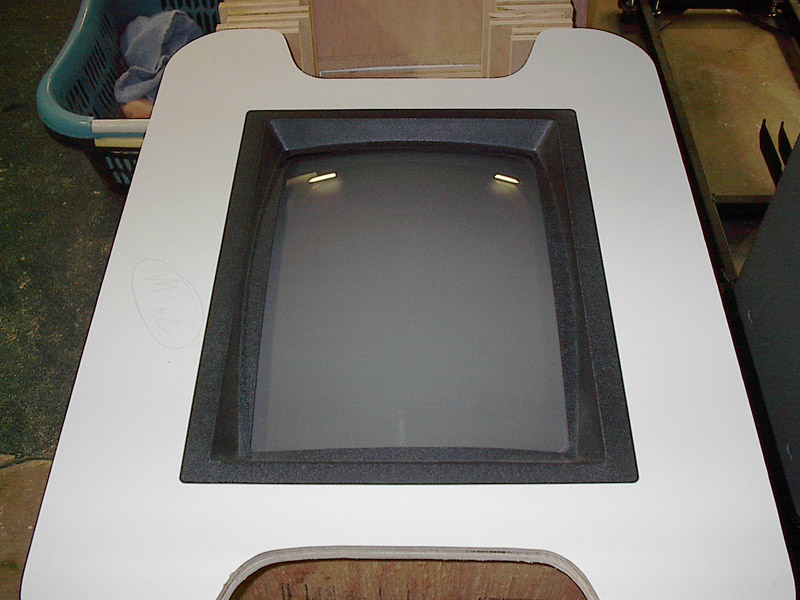
This is what it looks like after the stain dries, with the monitor bezel put in. |
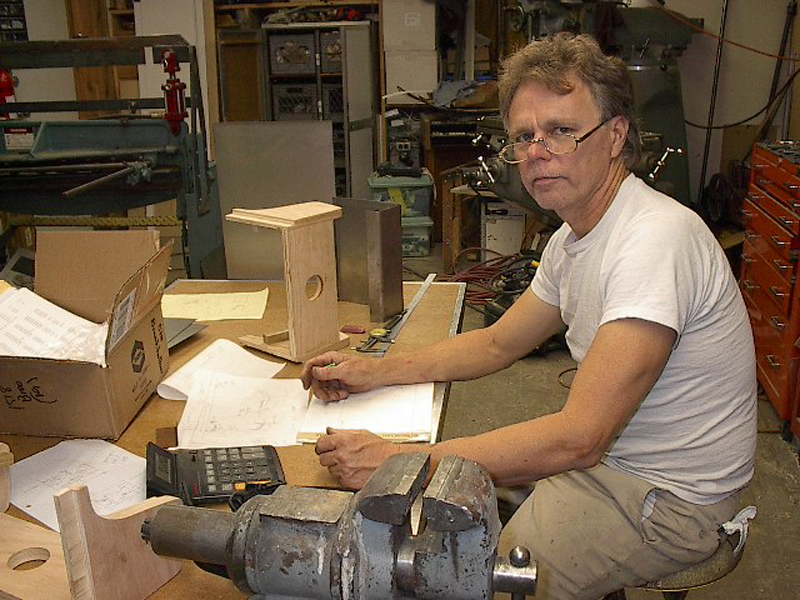
Uncle Ken |
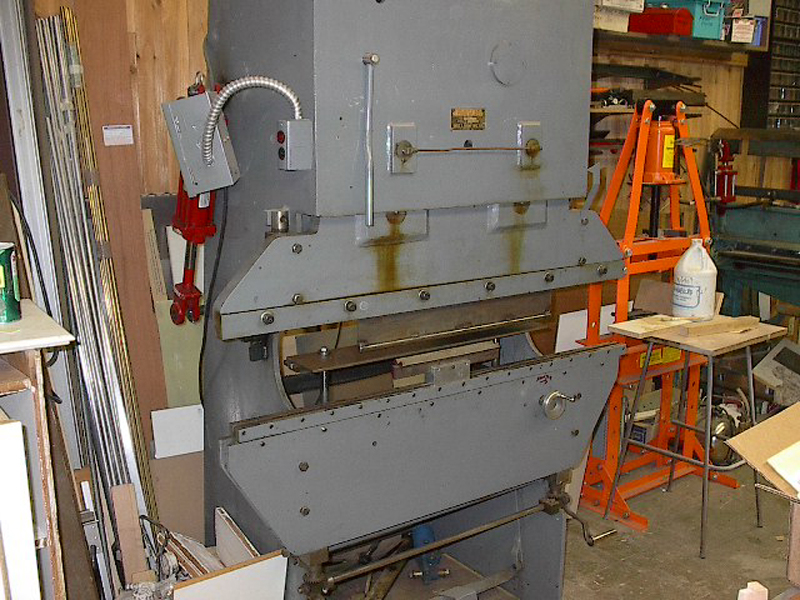
The brake. |
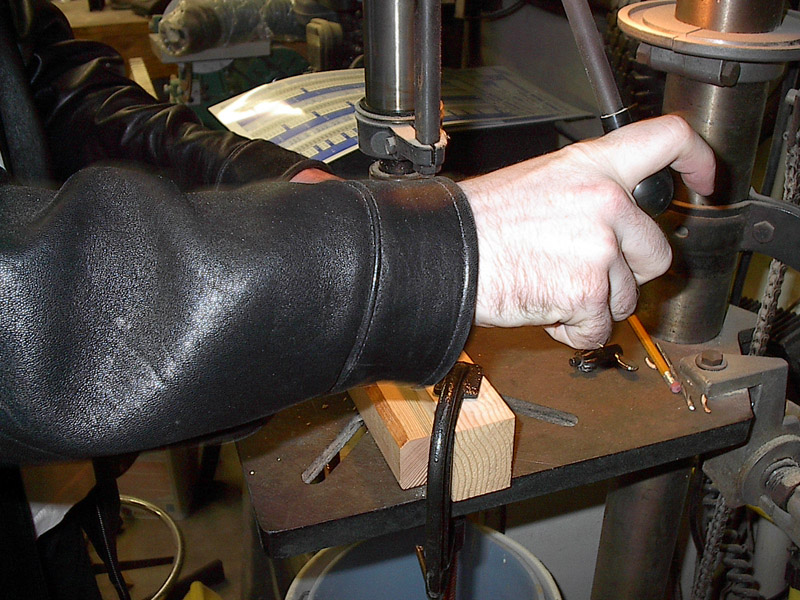
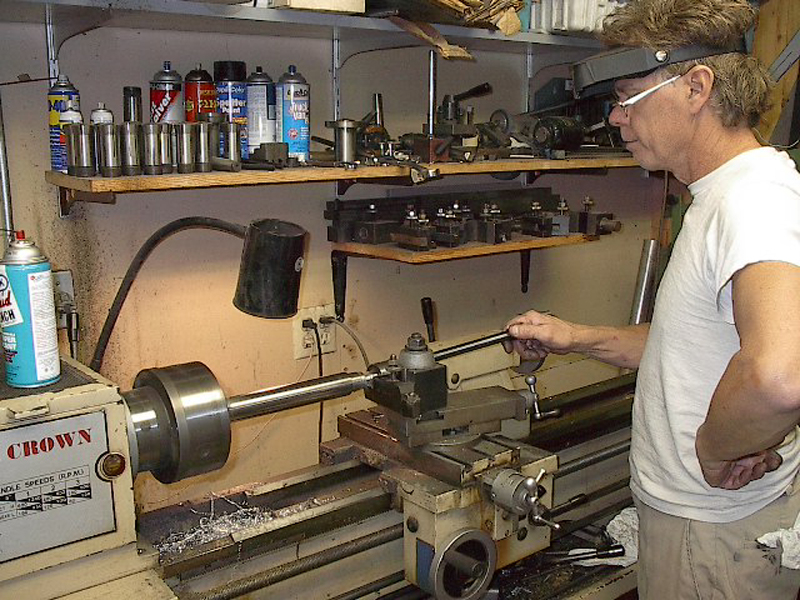
Uncle Ken making the punch and the die. |
The newly made punch and die. |
The punch that cuts the holes for the control panel. |
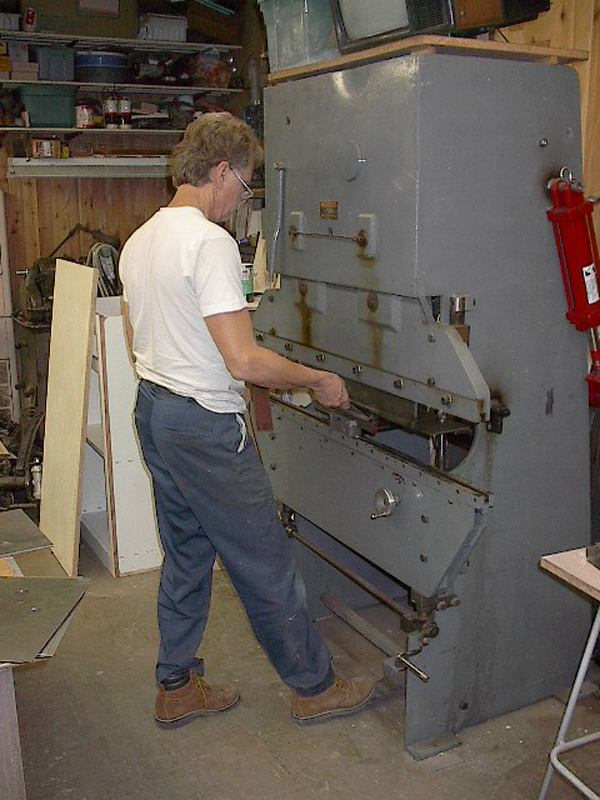
Uncle Ken working at the shear. |
Uncle Ken working at the brake. |
All the bent and puched sheetmetal for the controlpanels. |
My newly soldered jamma adaptor for Arkanoid! |
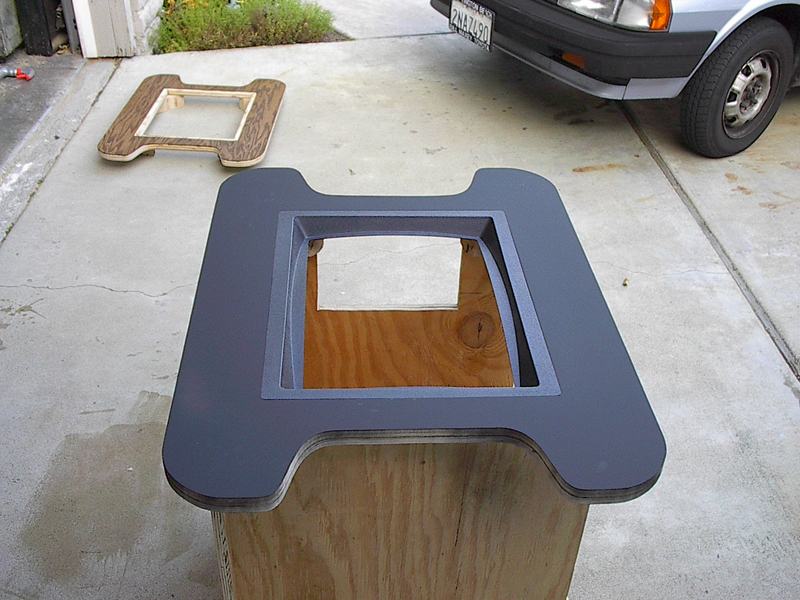
My table top with paint! |
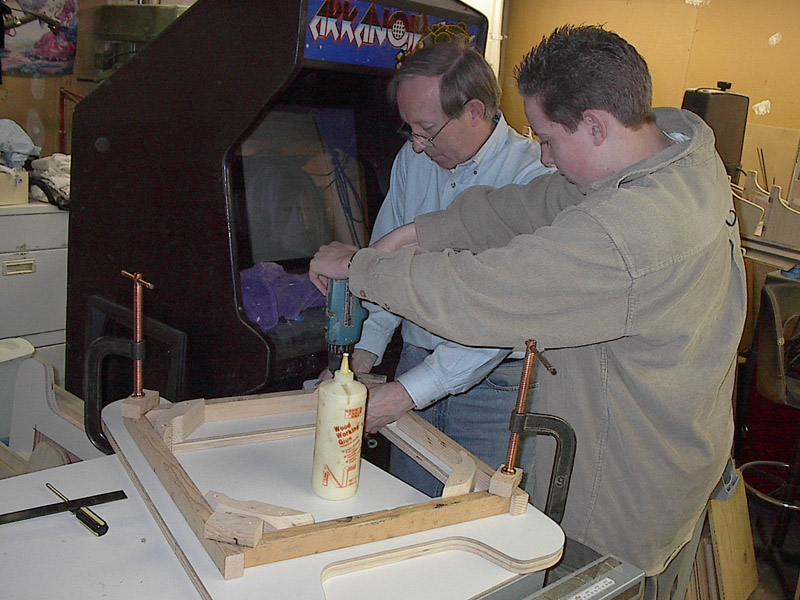
Glue to hold the sides together. |
The side being put into place. |