Cocktail Cabinet: Page 3
Here are some pictures of the cocktail tables we are building:
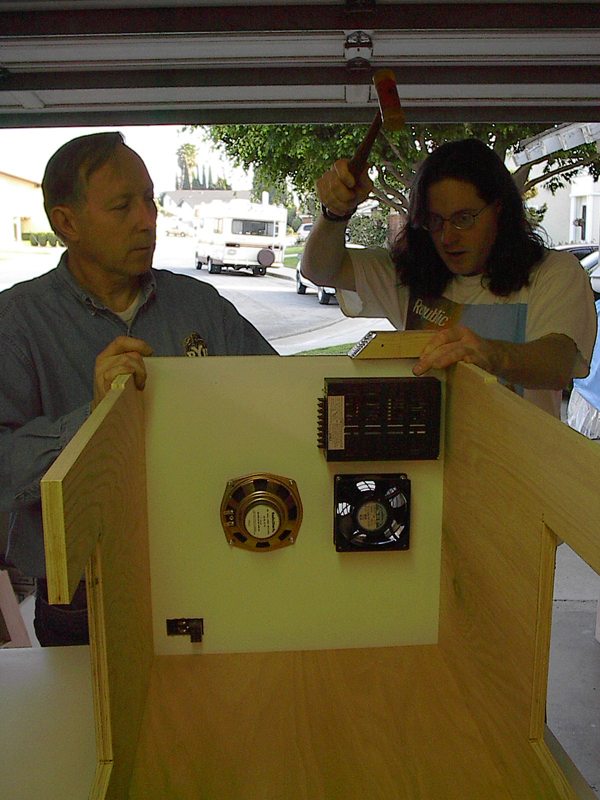
Hammering it to make sure its tight. |
David working the hammer. |
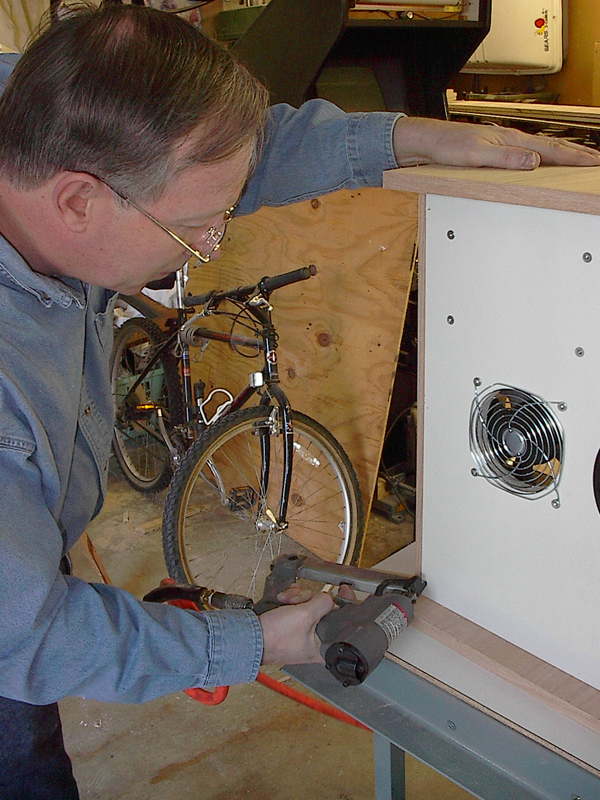
Dad tacking the bottom in for extra strength. |
Me (aka. Glue boy) wiping up excess glue. |
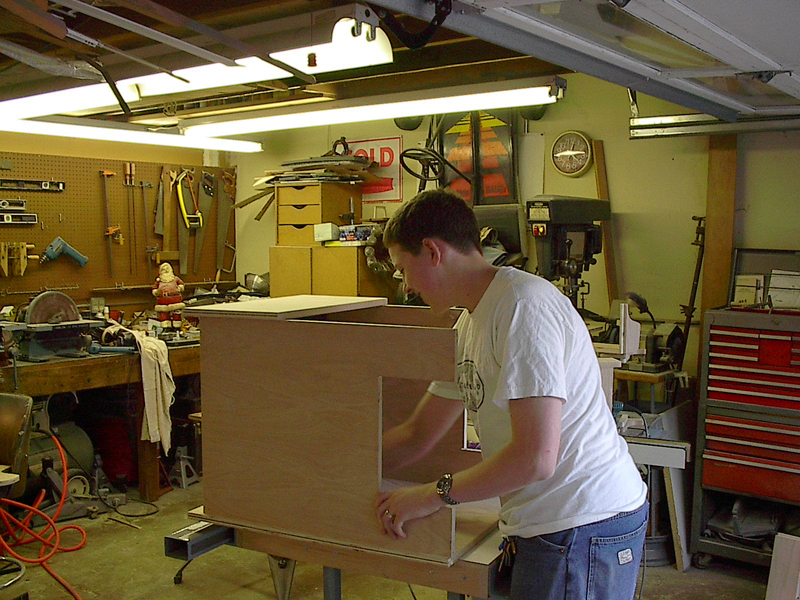
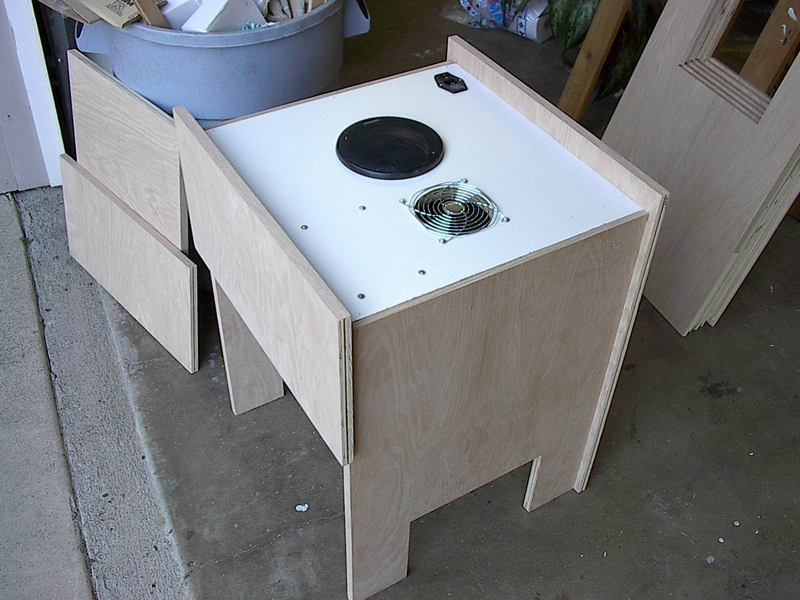
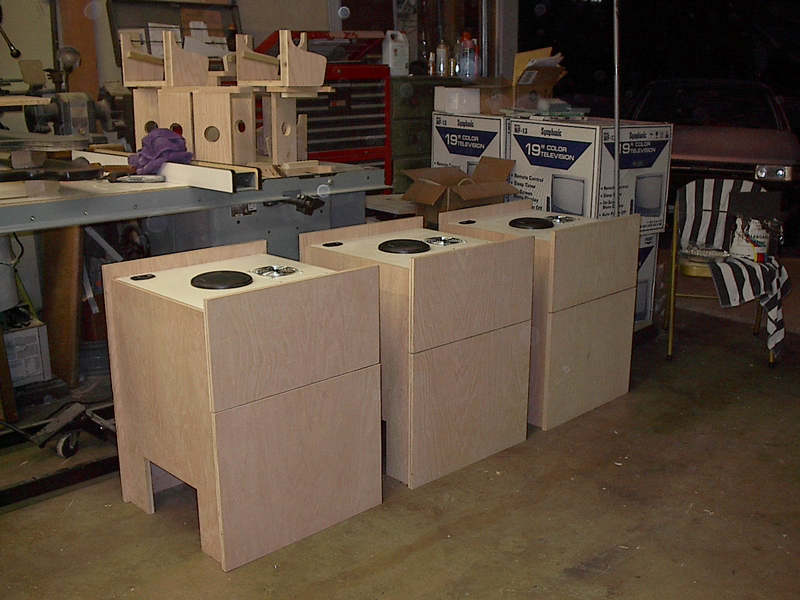
Our first cabinet is done being glued! |
Yay! 3 done! |
Dad and David with David's top which just got t-molding put on. |
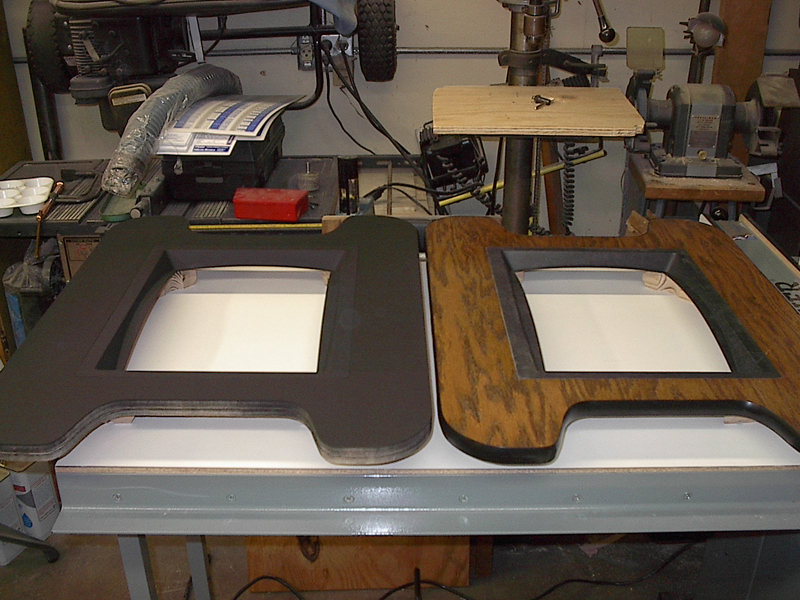
My top, and also Davids! |
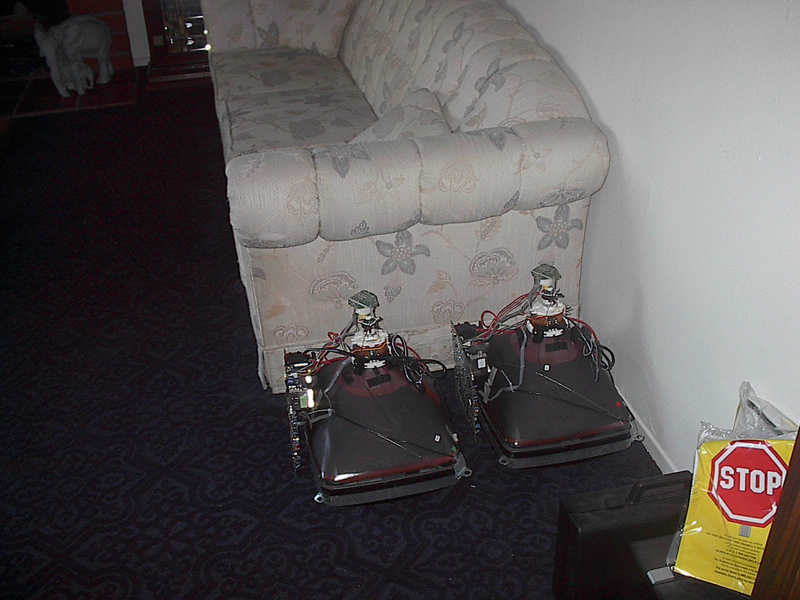
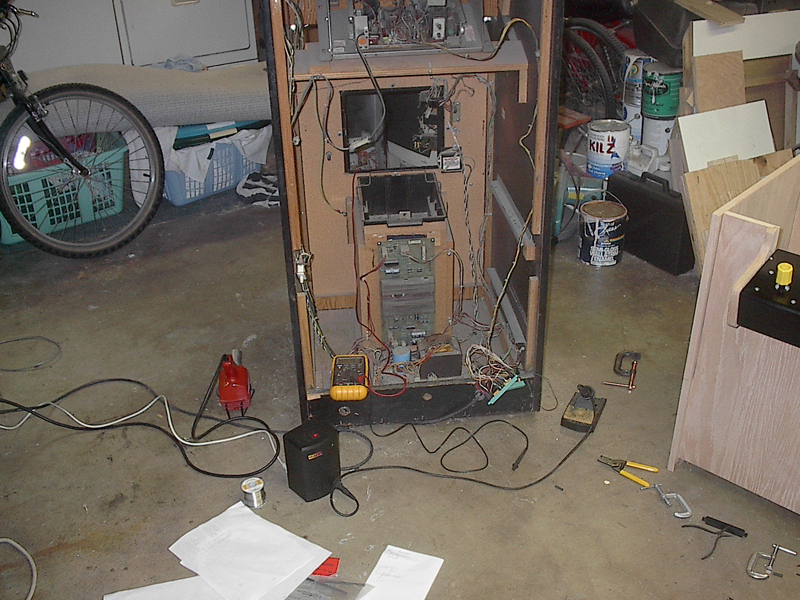
Here are two of the modified TVs. |
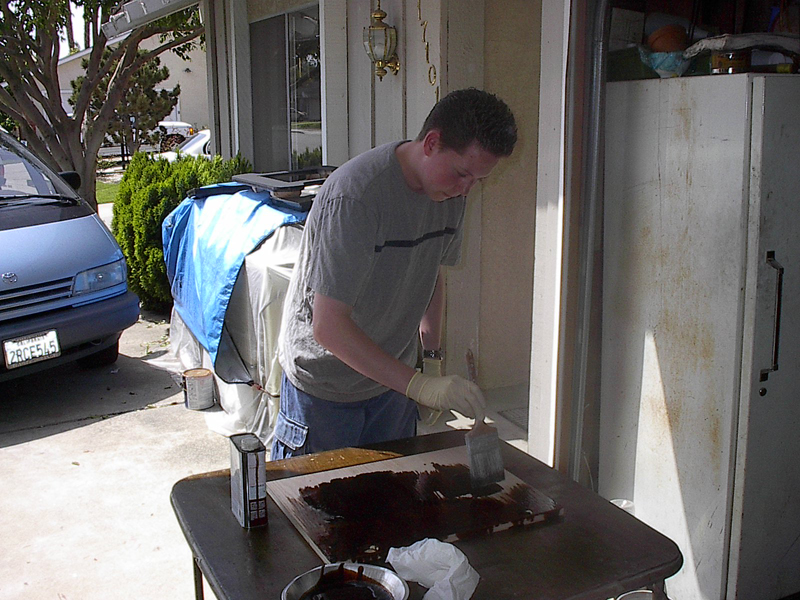
Here I am staining a door. |
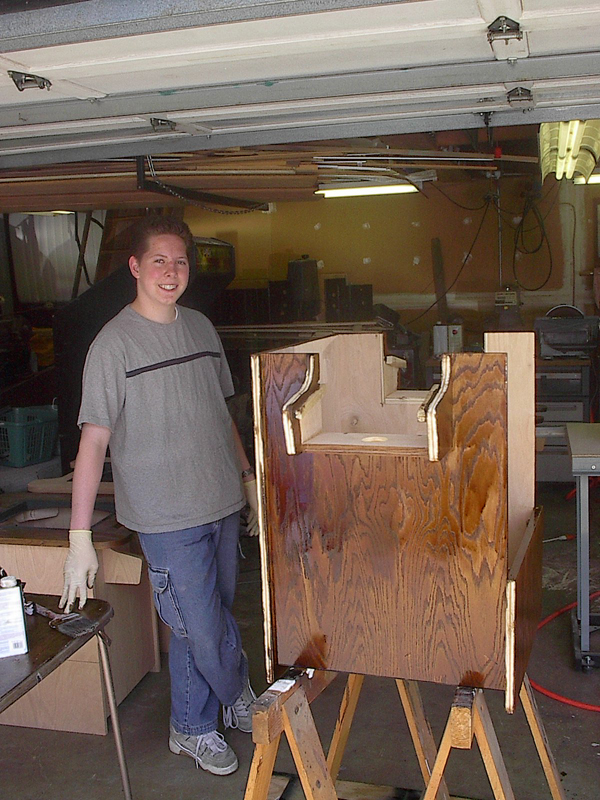
This is my cabinet being stained by me. |
Proudly standing by the stained cabinet. |
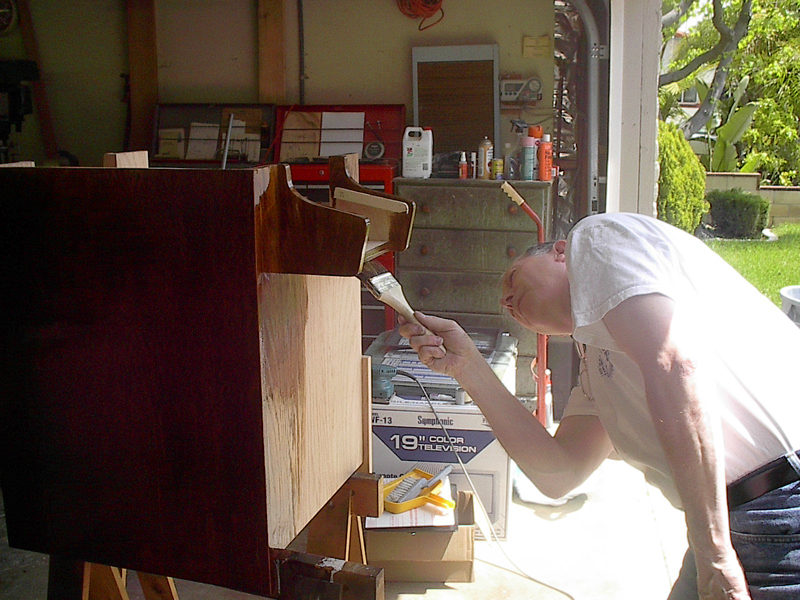
Dad doing some staining on someone else's cabinet. |
Staining the underside of the control panel. |
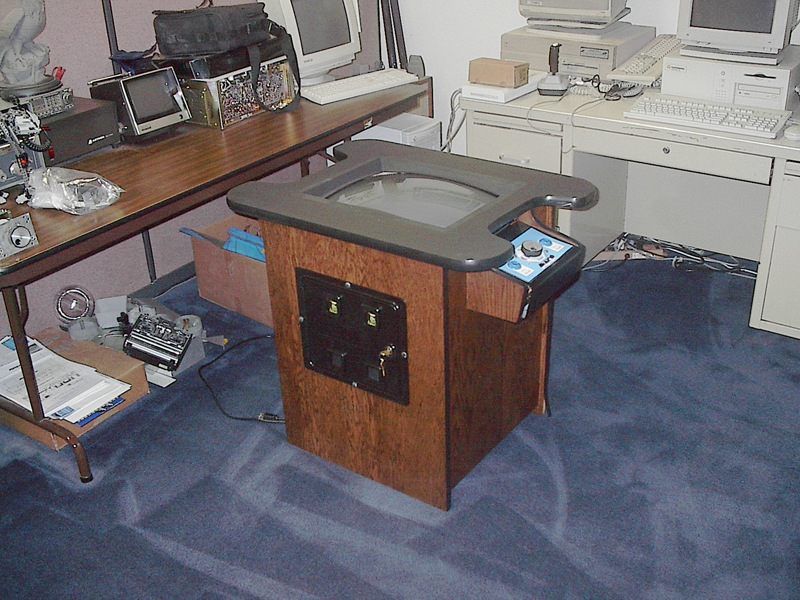
The cabinet with a table top put on. |
David Making the template for the coindoor. |
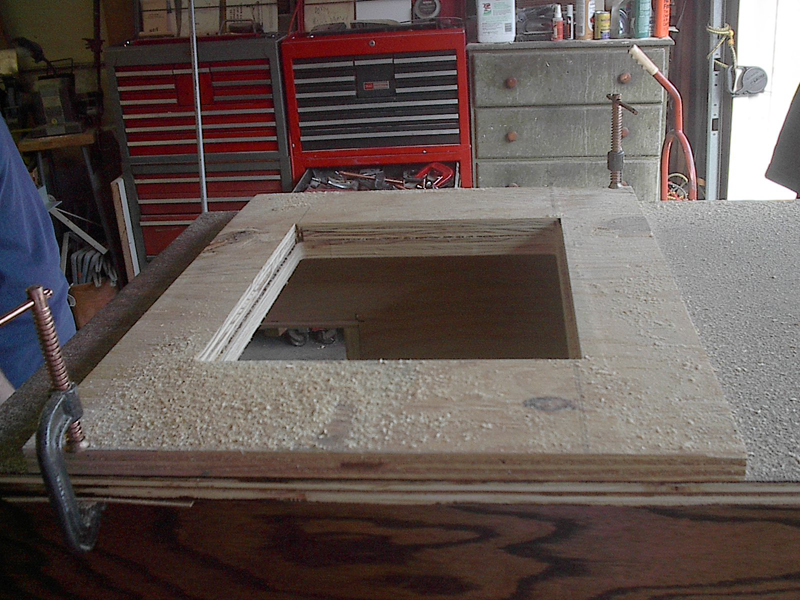
My cabinet getting the coindoor opening cut out. |
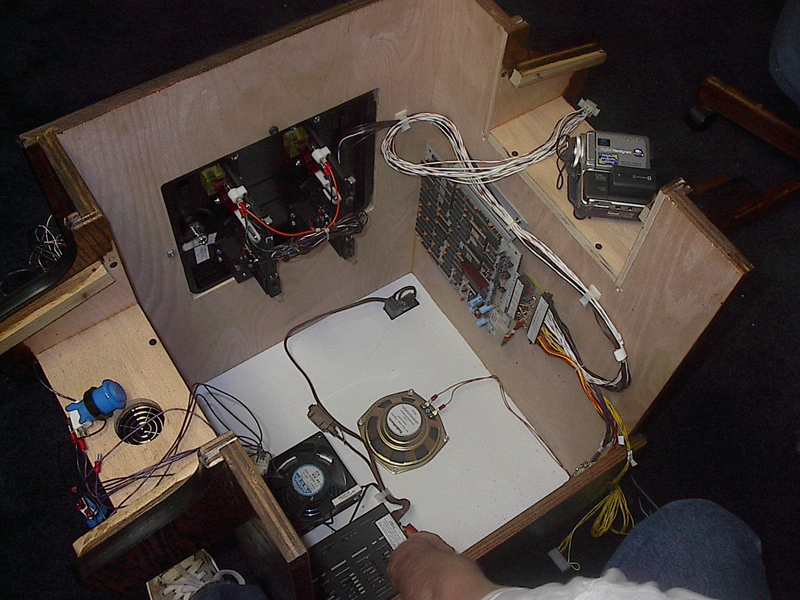
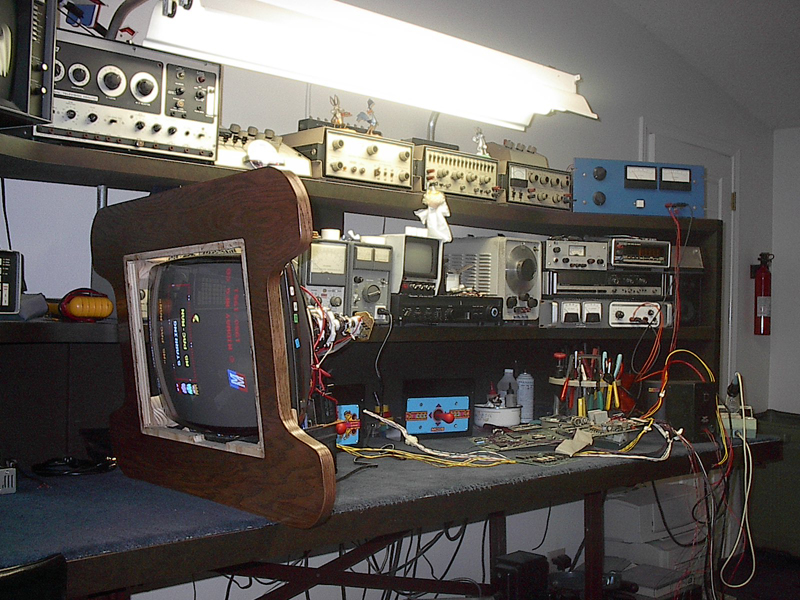
My cab all wired up with a jamma connector hooked up to Arkanoid! |
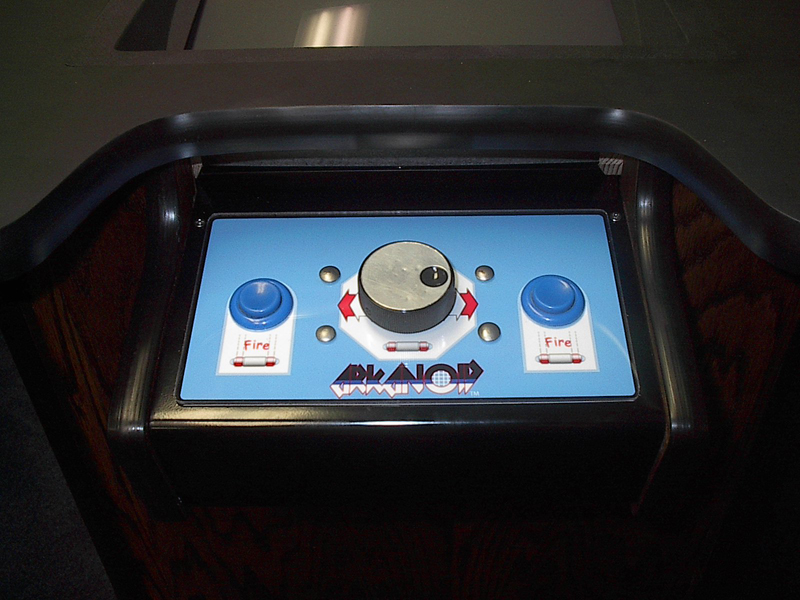
Me puting the decal onto the control panel. |
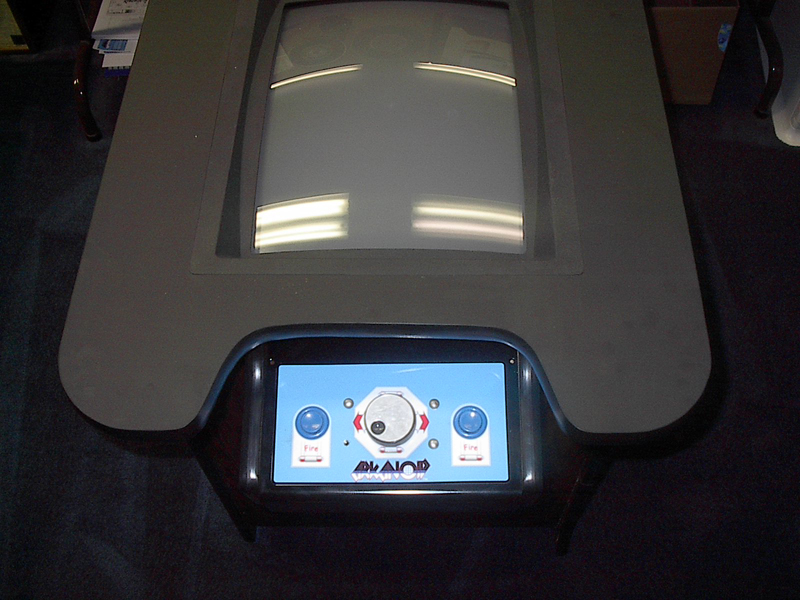
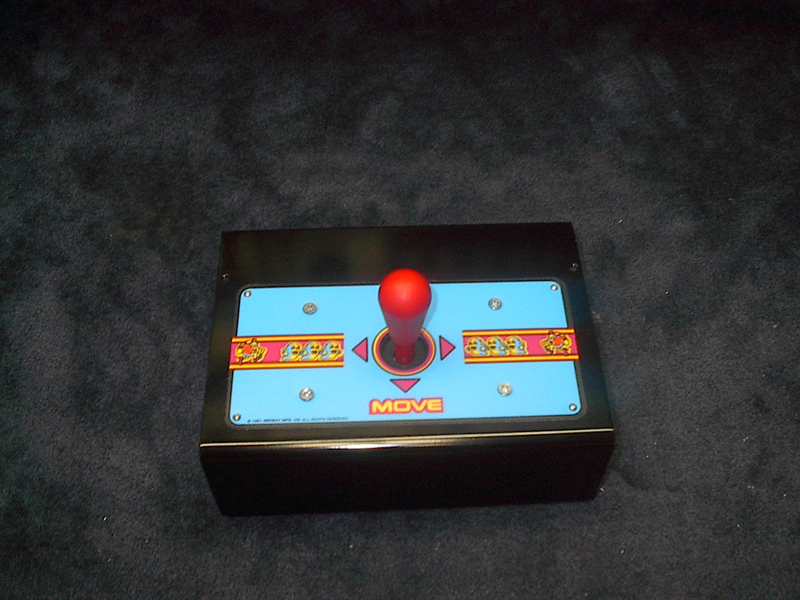
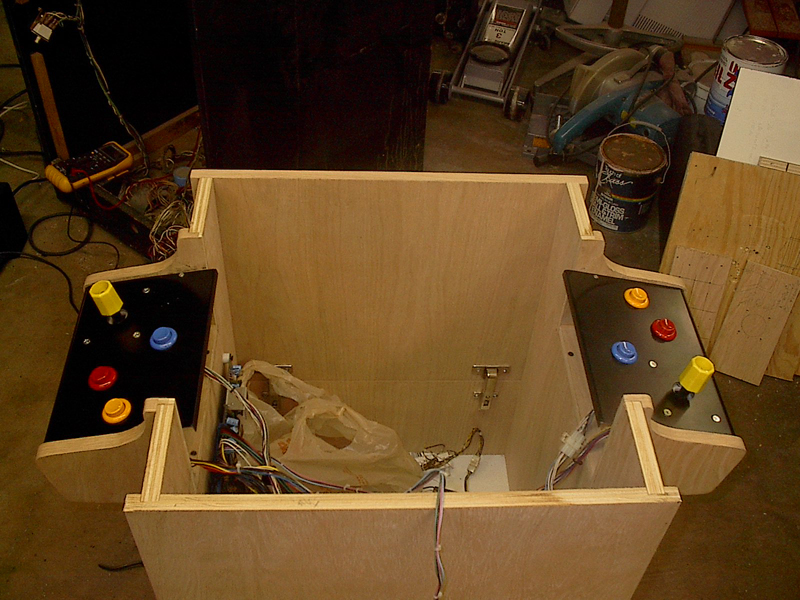
A nice shot of the control panel. |
From another angle... |
My nearly completed cabinet! |
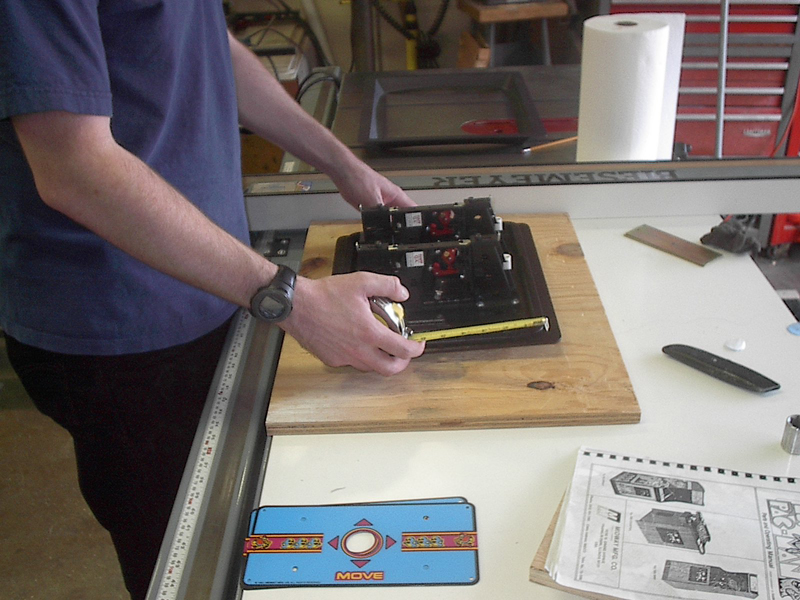
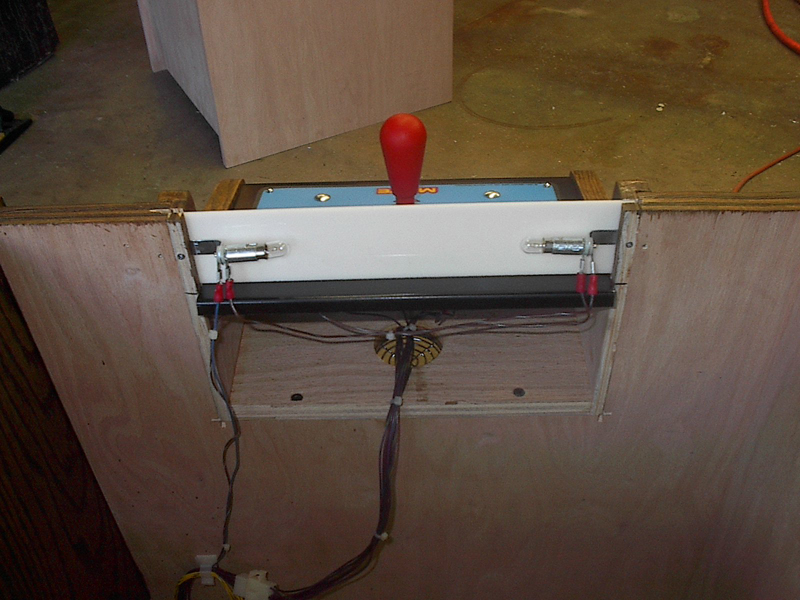
Underneath the Ms. Pac Man control panel. This shows the joystick mounting holes would match up with the holes in the decals. |
The top of the Ms. Pac Man control panel. |
Both panels done. |
Ms. Pac Man all hooked up. |
Ms. Pac Man all done! |
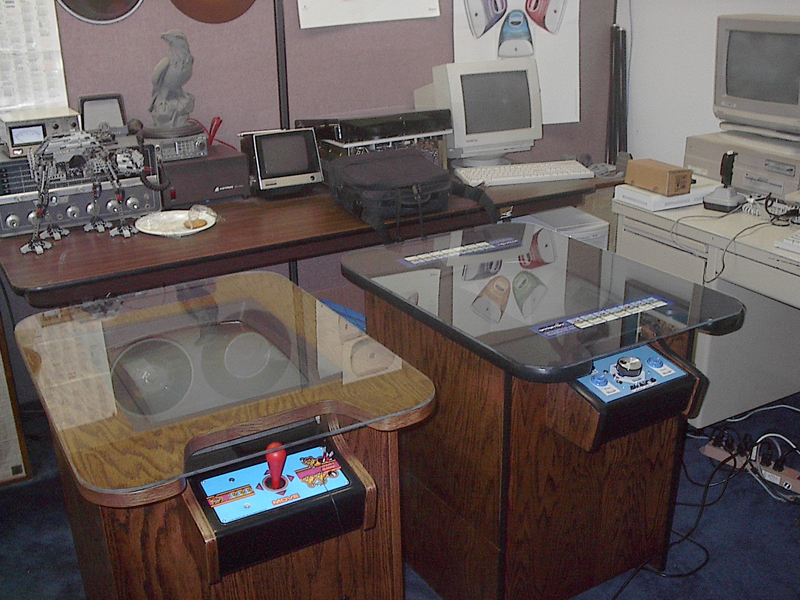
Arkanoid next to Ms. Pac Man. Thus concludes weekend # 11(?) |
This is a pict of the illuminated plastic on the Ms. Pac Man table. (Player 2) |
|
Player 1. |
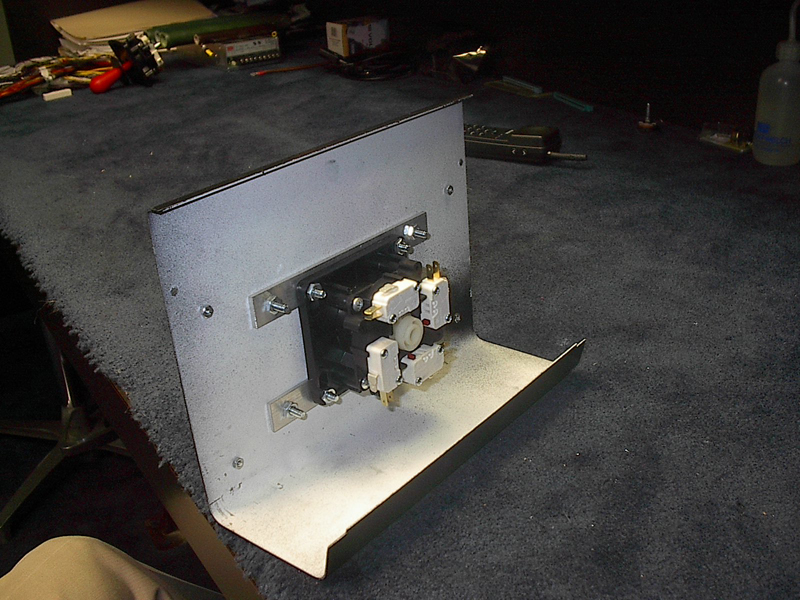
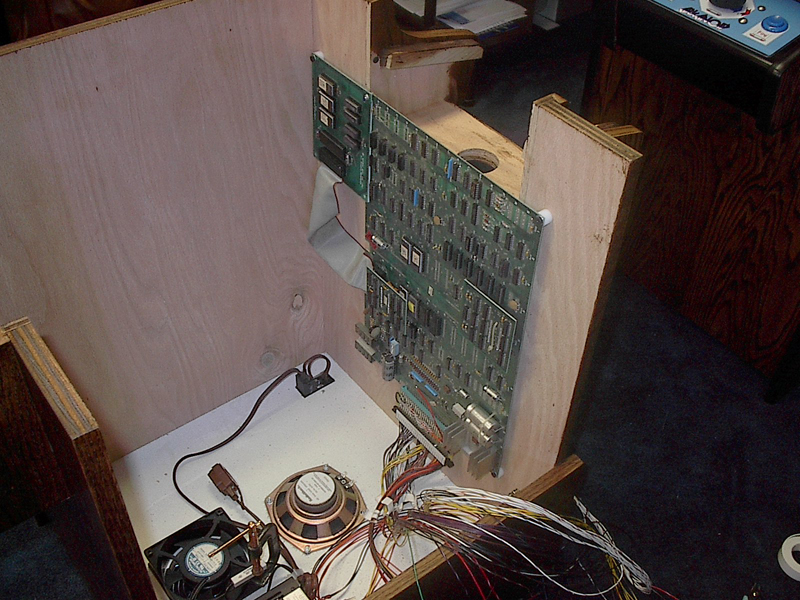
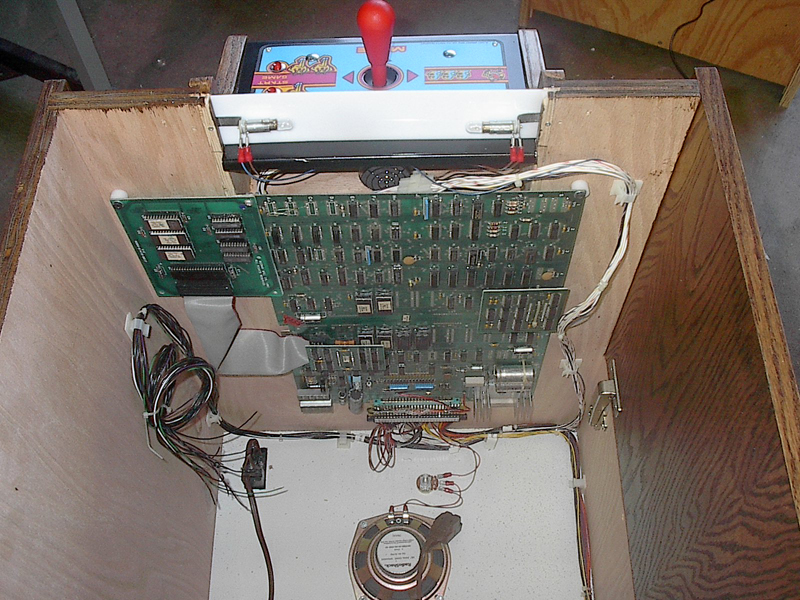
The mounted circuit board for the Ms. Pac Man cab. |
The insides of Davids Centipede cabinet. |
Jim's Time Soldeirs Cabinet. |